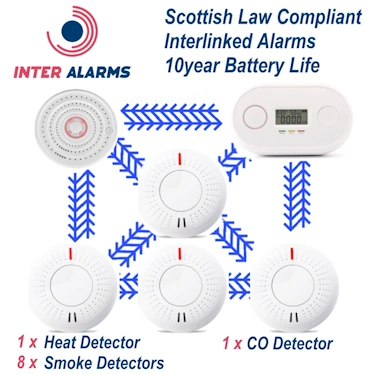
Can You Fit Your Own Interlinked Smoke & Heat Alarms?
Yes you can.
Introduction
Interlinked smoke and heat alarms are an essential part of home safety. They provide early warning in case of fire, allowing you and your family to evacuate safely. This guide will walk you through the process of installing these devices in your home.
What You’ll Need
- Interlinked smoke and heat alarms with 10year Sealed Battery (Mains Powered Alarms Must be Fitted by a Qualified Electrician)
- Screwdriver
- Drill and drill bits
- Ladder
- Safety goggles
Step-by-Step Installation
Step 1: Planning your Alarm Locations
Firstly, decide where to place your alarms.
A Smoke Alarm should be fitted in the following locations -
- The main living room or room used most during the day
- On each hallway or landing on all levels
- In a loft conversion
- In a garage conversion
- As central as possible
- At least 300mm away from the wall
- In the living room - No more than 7.5 metres from any point on the ceiling. If this is not possible then additional alarms should be used.
- In the hallway/landing - No more than 3 metres away from each bedroom door.
- In the hallway/landing - No more than 7 metres away from the living room & kitchen door.
- On a sloping ceiling - No more than 600mm down from the apex.
- Do not locate smoke alarms directly above heaters or fireplaces to avoid nuisance alarms.
A Heat Alarm should be fitted in the kitchen
Heat Alarms should be mounted on the ceiling following these rules -
- As central as possible
- At least 300mm away from the wall
- No more than 5.3 metres from any point on the ceilingIf this is not possible then additional alarms should be used.
- On a sloping ceiling - No more than 150mm down from the apex.
A Carbon Monoxide Alarm should be fitted in each of the following areas -
- Every Room with a carbon-fuelled device e.g. boiler, fire , heater or flue. Unless the apliance is used solely for cooking.
- If the boiler is in a cupboard, mount the carbon monoxide alarm on the wall outside the cupboard, no more than 300mm away from the cupboard door.
- As least 150mm below the ceiling
- Higher than any door or window
Step 2: Ensure Alarms are Linked/Paired
Before mounting the alarms, it is important to ensure they are paired. Paired alarms mean that if one alarm is trigger, all othere alarms will also activate. You can test if the alarms are paired by switching all alarms on then press the test button on one alarm. All alarms should activate with 20 seconds of the the first alarm. If any of the alarms do not activate then follow the pairing procedure found here.
Step 3: Mounting the Alarms
Use the ladder to reach the ceiling. Mark the spots where you’ll install the alarms. Drill holes at these spots and insert wall plugs. Attach the mounting plate of each alarm to the ceiling using screws.
Step 4: Testing the System
Once all alarms are installed and interlinked, test the system. Press the test button on one alarm. All alarms should sound, indicating that they are correctly interlinked.
Conclusion
Installing interlinked smoke and heat alarms is a straightforward task that you can do yourself. It’s an important step in ensuring the safety of your home. Remember to test your alarms regularly and replace the batteries as needed. Stay safe!.
InterAlarms can help
InterAlarms can provide an interlinked smoke and heat alarm system in your home. Please complete our enquiry form here and we will provide a quote for a complete safety system for your home.
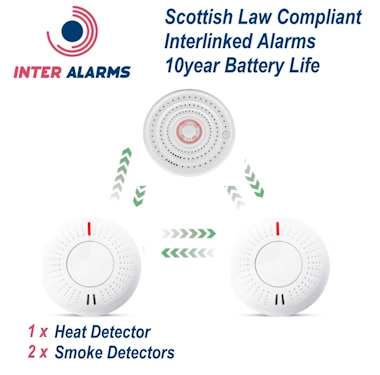
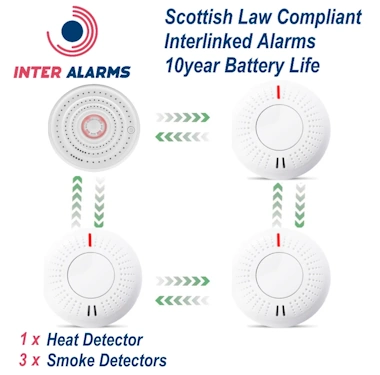
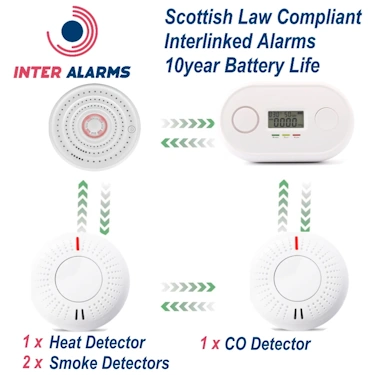
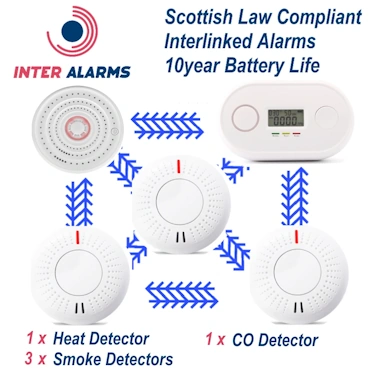
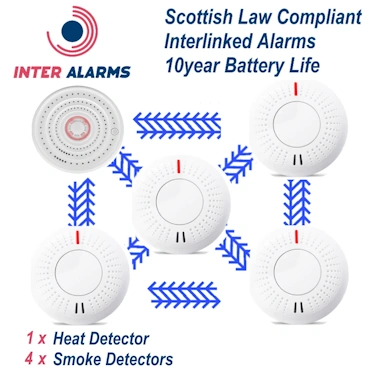
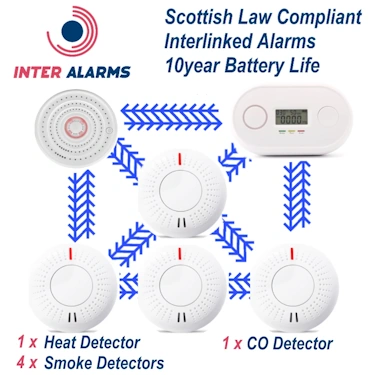
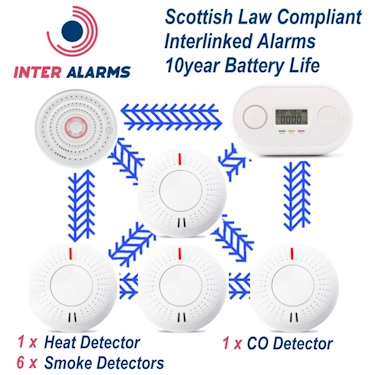
Alternatively we provide do-it-yourself kits here. These are supplied pre-linked with fully fitting instructions.
D-I-Y Packages
All D-I-Y Packages are pre-linked & tested prior to being posted to your home.
Postage is FREE and you will receive your package within 2-3 days.
All kits will include installation instructions and details of where the alarms should be fitted.
